Introduction
If you read my last post, you’ll know that I love technology but am wary of it. As an instructional designer and toolmaker, I’m selective about the educational technologies I choose to learn and integrate into our authoring tool, LodeStar. My basic rule is that a little investment must pay large dividends. My second rule is that instructors and trainers should be able easily to envision how the technology will apply to student learning.
One technology in particular has tempted me down the rabbit hole in the past: virtual reality. Until recently, I kept away from integrating VR into LodeStar. Now, I concede that there are solid stepping stones to instructors using VR in eLearning applications. The investment can be small; the dividends, with the right design, could be huge. One example of a stepping stone is the ‘photosphere.’
Photospheres
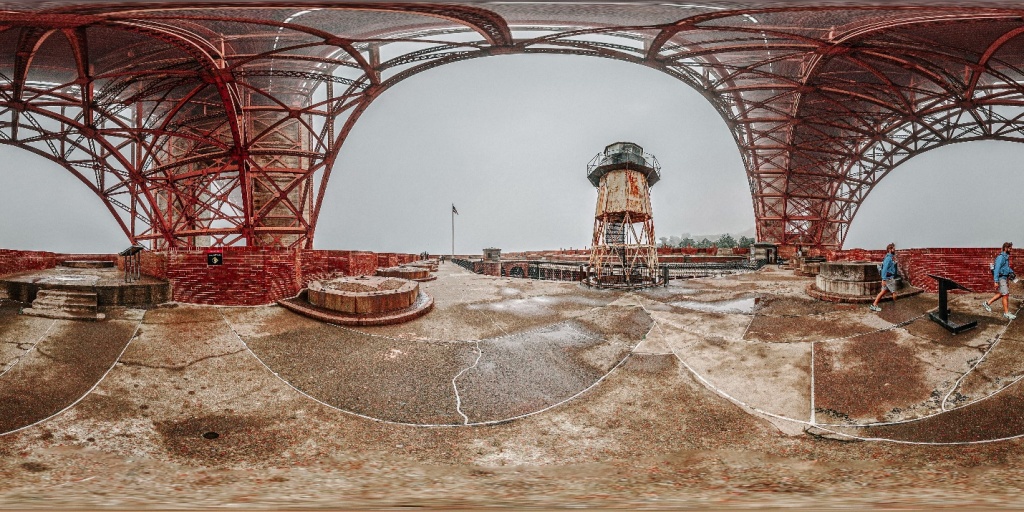
The photosphere is more commonly known as the 360-degree panoramic image, VR photo, and interactive panorama. A photosphere is essentially a 360-degree scene that is viewed through a special viewer that transforms a two-dimensional, distorted image into something magical.
Once upon a time, photospheres were difficult, time-consuming or expensive to produce. Instructors needed special equipment and/or software to ‘stitch’ together many photographs into one viewable image.
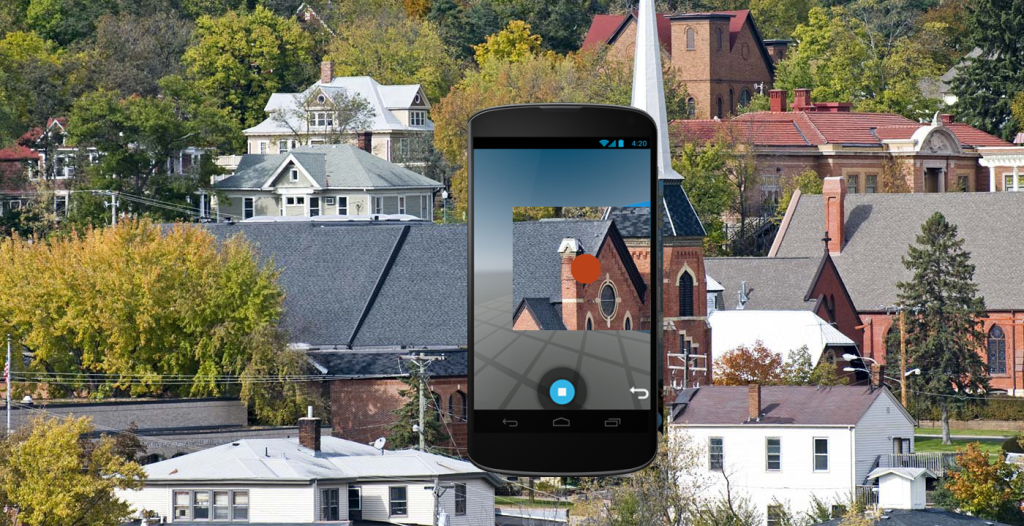
Today, smartphone apps step instructors through the process of taking multiple images that are automatically mapped onto a sphere. The sphere when projected onto a two-dimensional plane looks distorted. When shown through a viewer it offers an undistorted 360-degree view of a scene.
The Hermitage museum is a wonderful example of the use of photospheres (panoramas) to give visitors a virtual tour of the museum.
https://www.hermitagemuseum.org/wps/portal/hermitage/panorama/virtual_visit/panoramas-m-1/?lng=
Now a photosphere can be created by any eLearning instructor with a dozen or so clicks.
I’ll suggest three simple ways that online instructors can get started using photospheres in their courses and conclude with a fourth, more sophisticated, example. Each of these is illustrated in a LodeStar Learning activity found at:
https://lodestarlearning.github.io/VR-Demo/index.html
Suggestion One: Link to VR sites
An instructor can simply link to VR (360-degree panorama) sites. Here are some examples:
Louvre
https://www.youvisit.com/tour/louvremuseum
Iceland
https://www.iceland360vr.com/map/
Rome
https://www.youvisit.com/tour/rome
Suggestion Two: Find and download images
Finding and downloading images for education is a bit of a challenge presently. You’ll find photospheres on Facebook, Instagram, Flickr, virtual tour companies, museums, and tourist bureaus. But, you will be hard-pressed at the moment to find photospheres in Open Education Resource (OER) repositories. We might be a little ahead of the curve. I suspect that, for a variety of reasons, we’ll see an uptick in educationally useful photospheres in the most popular repositories like Merlot, OER Commons, and Curriki.
In the meantime, view and download examples from the following sites.
https://commons.wikimedia.org/wiki/Category:Photo_Sphere
https://pixexid.com/search/360 panoramic
Suggestion Three: Use tablet or smartphone to generate an image
Photospheres are now easy to create. As I mentioned, once upon a time, photospheres were difficult to produce. Today, free software on a smartphone guides users by displaying dots on a screen. The user moves the camera until a dot falls within a circle target. The user follows the dots until a 360-degree ring of photos is created and then upwards and downwards in igloo-building fashion until all space is covered with images. The software stitches all of the images together and produces what appears to be a distorted image when viewed without a photo sphere viewer.


Suggestion Four: Use Blender or other 3D software to generate a scene and render it as a photosphere
One of the more sophisticated uses of Photospheres is in creating them with 3D software. In the early 90s when I worked with 3D software, the price tag was in the thousands of dollars. Some complicated scenes required a room of twenty computers all working on some aspect of the image delegated to them by a rendering manager – a kind of orchestral conductor.
Today, students can download powerful software, like Blender (https://www.blender.org/), for free. Typically, instructors wouldn’t have the time to learn the software and build 3d models. Some students, on the other hand, might be eager to support their teachers by learning the software and generating useful models. Building 3D Models is a lot of fun and tremendously educational.
In this example, I used a model produced by Marcin Lubecki. Here is what the Blender environment looks like:

Next I positioned a camera in the center of the kitchen.

Then I set the Blender tool’s rendering engine to ‘Cycles.’ I set the camera type to ‘panoramic’ and set the panorama type to ‘equirectangular’. I then set the latitude from -90 to 90 and the longitude from -180 to 180. I made a few more adjustments and then rendered the image.
The process renders one tile at time to produce this equirectangular projection and essentially stitches the whole thing together before your eyes.

The result is in the linked LodeStar example found above.
Conclusion
This post focused mostly on finding, creating, and viewing photospheres. The first releases of LodeStar 9 will support the viewing of photospheres. A near-future of version of LodeStar will enable instructors to add markers to a photosphere and connect the image to all of LodeStar’s branching options.
Photospheres are easy to create. Hopefully, in the future they will be easy to find by instructors in order to suit an instructional purpose. One can easily imagine the applications: virtual tours of places and items of interest in every discipline. In a future post, I’ll tease out some of the possibilities and opportunities for the adventuresome online instructor.
